I had originally posted this tutorial on Craftster, but I figured I would post it here also, as many of the crafts I'll feature will be using this technique.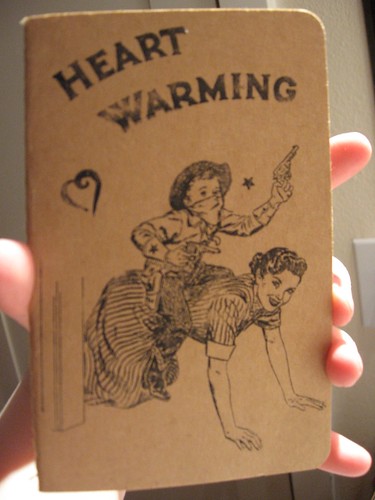
This process is called a cellulose transfer. It's an inexpensive way to print images on surfaces with things you probably have around the house.
Basic Ingredients:
- Q-tips
- Spoon
- Lacquer thinner
- Material to transfer image onto (I used a Moleskin pocket journal)
- A very small container to hold lacquer thinner
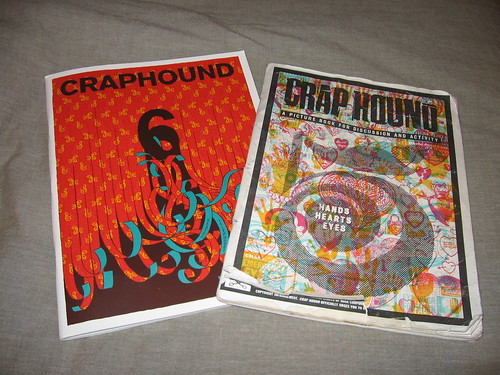
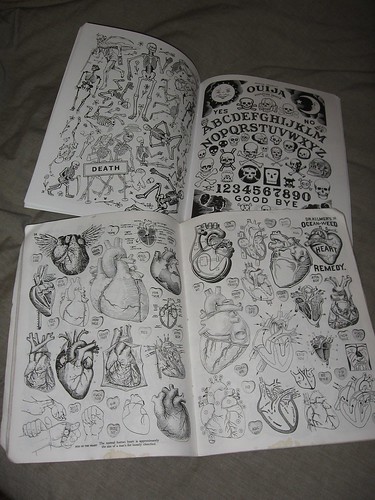
- Mirror image xerox of picture of your choice (in black and white) I usually use Craphound, because the images are great.
 BEFORE YOU START:
Use a WELL VENTILATED area to work
Do not let the chemicals touch anything you don't want damaged (skin for instance)
Cut your image out, try to leave area around edges to put your fingers on where they won't come into contact with the chemicals.
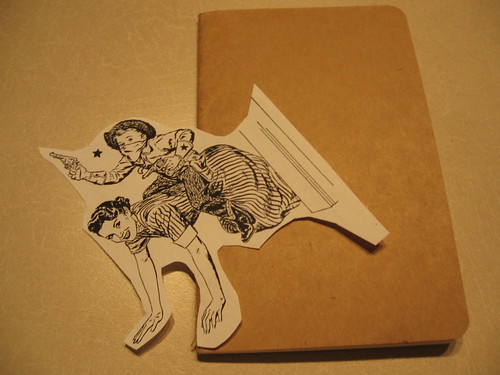 Put no more than a tablespoon of lacquer thinner into the container, use Q-tip to cover back of image while holding sturdy on notebook.
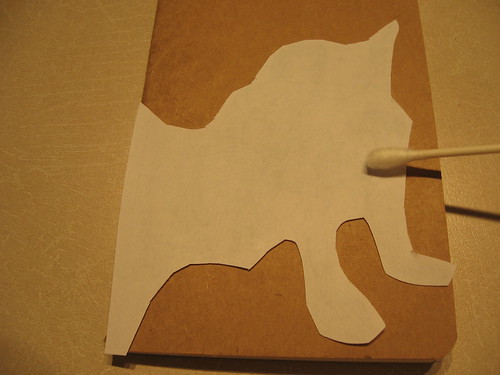
While the cellulose is still wet, go over entire area with the back of a spoon, quick! It dries very fast. If you need to, coat a small area, press; then coat another small area, and press.
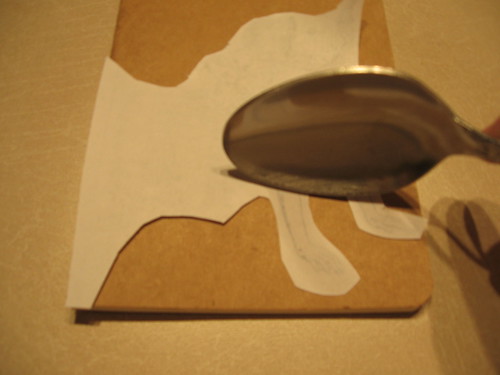
 Peel back a small section to see how your transfer looks. Press again if the image hasn't completely transfered.
 You can visit my post on Craftster to see more examples that other craftsters have posted as well as a discussion about what works, and what unfortunately, does not.


3 comments:
oh boy, this transfer method looks right up my alley. I LOVE your blog...it's different, edgy, and, as Popeye used to say, faskinatin".
Thanks! I'll keep tuning in. Judy
This is great! Thanks for sharing!
This cellulose transfer technique sounds like an easy way to personalize items around the house.
Post a Comment